Nightly updated IPTV files for Australian TV & Radio for 8 regions.
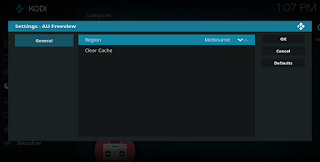
Regions
Click on a region to get a list of channels & radio stations.
Simply replace [REGION] in the URLs below with your region name from above.
Simply replace [REGION] in the URLs below with your region name from above.
Raw
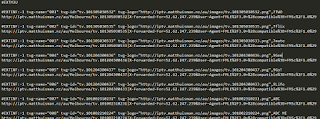
These m3us files are made to be used with any device / program that does not have it's own files below.They don't pipe any streams and don't add any extra headers etc.
Therefore, a lot of streams may not work.

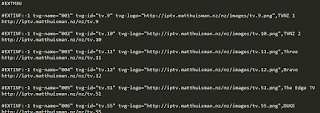
- TV: http://iptv.matthuisman.nz/au/[REGION]/raw-tv.m3u8
- Radio: http://iptv.matthuisman.nz/au/[REGION]/raw-radio.m3u8
- TV & Radio: http://iptv.matthuisman.nz/au/[REGION]/raw.m3u8
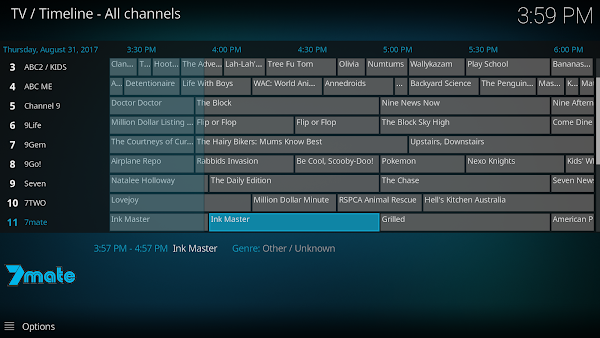
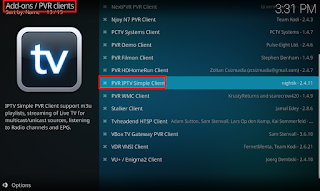
KODI
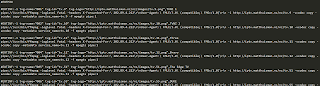
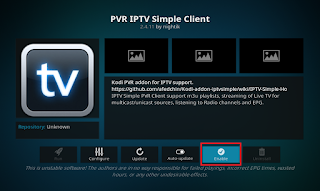
These m3u8 files are made to be used with KODI and IPTV Simple Client add-on.
They are very similar to the raw files, except they add a few extra sometimes required headers.
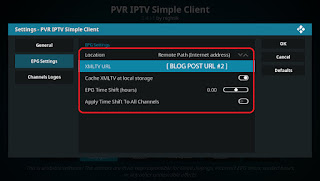
![]()
- TV: http://iptv.matthuisman.nz/au/[REGION]/kodi-tv.m3u8
- Radio: http://iptv.matthuisman.nz/au/[REGION]/kodi-radio.m3u8
- TV & Radio: http://iptv.matthuisman.nz/au/[REGION]/kodi.m3u8
They are very similar to the raw files, except they add a few extra sometimes required headers.
- TV: http://iptv.matthuisman.nz/au/[REGION]/kodi-tv.m3u8
- Radio: http://iptv.matthuisman.nz/au/[REGION]/kodi-radio.m3u8
- TV & Radio: http://iptv.matthuisman.nz/au/[REGION]/kodi.m3u8
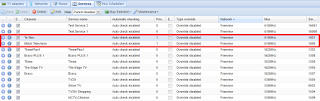
TvHeadend
These m3u8 files are made to be imported into Tvheadend as an IPTV Automatic Network.
All the streams are piped to ffmpeg to re-container them as MPEG-TS.
Therefore, they require ffmpeg to be installed on the system running Tvheadend and that it's path is /usr/bin/ffmpeg (symlink if different).
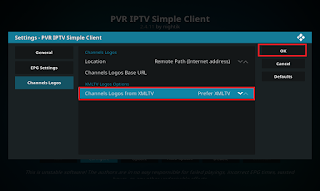
![]()
If you don't have ffmpeg, you could try using the above RAW files instead - but you may find quite a few streams will not work without being piped through ffmpeg. I suggest a google for "how to install ffmpeg on XX". The steps are usually pretty easy :)

If you don't have ffmpeg, you could try using the above RAW files instead - but you may find quite a few streams will not work without being piped through ffmpeg. I suggest a google for "how to install ffmpeg on XX". The steps are usually pretty easy :)
- TV: http://iptv.matthuisman.nz/au/[REGION]/tvh-tv.m3u8
- Radio: http://iptv.matthuisman.nz/au/[REGION]/tvh-radio.m3u8
- TV & Radio: http://iptv.matthuisman.nz/au/[REGION]/tvh.m3u8
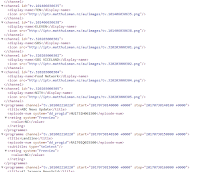
JSON
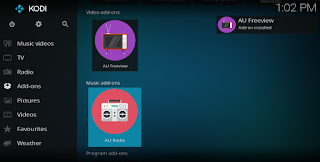
These files simply contain the stream information in a nice JSON formatted file.They are used by my AU Freeview& AU Radio KODI Add-ons.

- TV: http://iptv.matthuisman.nz/au/[REGION]/tv.json
- Radio: http://iptv.matthuisman.nz/au/[REGION]/radio.json
EPG
All above files use my unique channel identifications.
This allows them to work with my below EPG files.
These are full 7 day EPG files for all Freeview channels.
![]()
This allows them to work with my below EPG files.
These are full 7 day EPG files for all Freeview channels.
- XML: http://iptv.matthuisman.nz/au/[REGION]/epg.xml
- GZIP: http://iptv.matthuisman.nz/au/[REGION]/epg.xml.gz
- EPG Grabber: http://iptv.matthuisman.nz/au/[REGION]/tv_grab_au
More Info
Still in early days with more channels to come!
The above URLS may also change, so come back here if your lists stop working.
All streams are scraped and checked nightly for maximum reliability.
You can view all the generated files on my Github HERE.
All above links simply redirect to the Github files.
I am automatically notified of any failed streams.
It is best to pull the files on or after 2:00 am Perth Time (as they are generated around 1:30am).
If you find yourself using any of these files, please consider shouting me a coffee.
Enjoy!
If you find yourself using any of these files, please consider shouting me a coffee.
Enjoy!